Step 1: Log in with Administrator Access
-
Open Nx Witness Desktop Client.
-
Connect to the correct System.
-
Log in using an Administrator account.
Only Administrators are authorised to create or modify users.
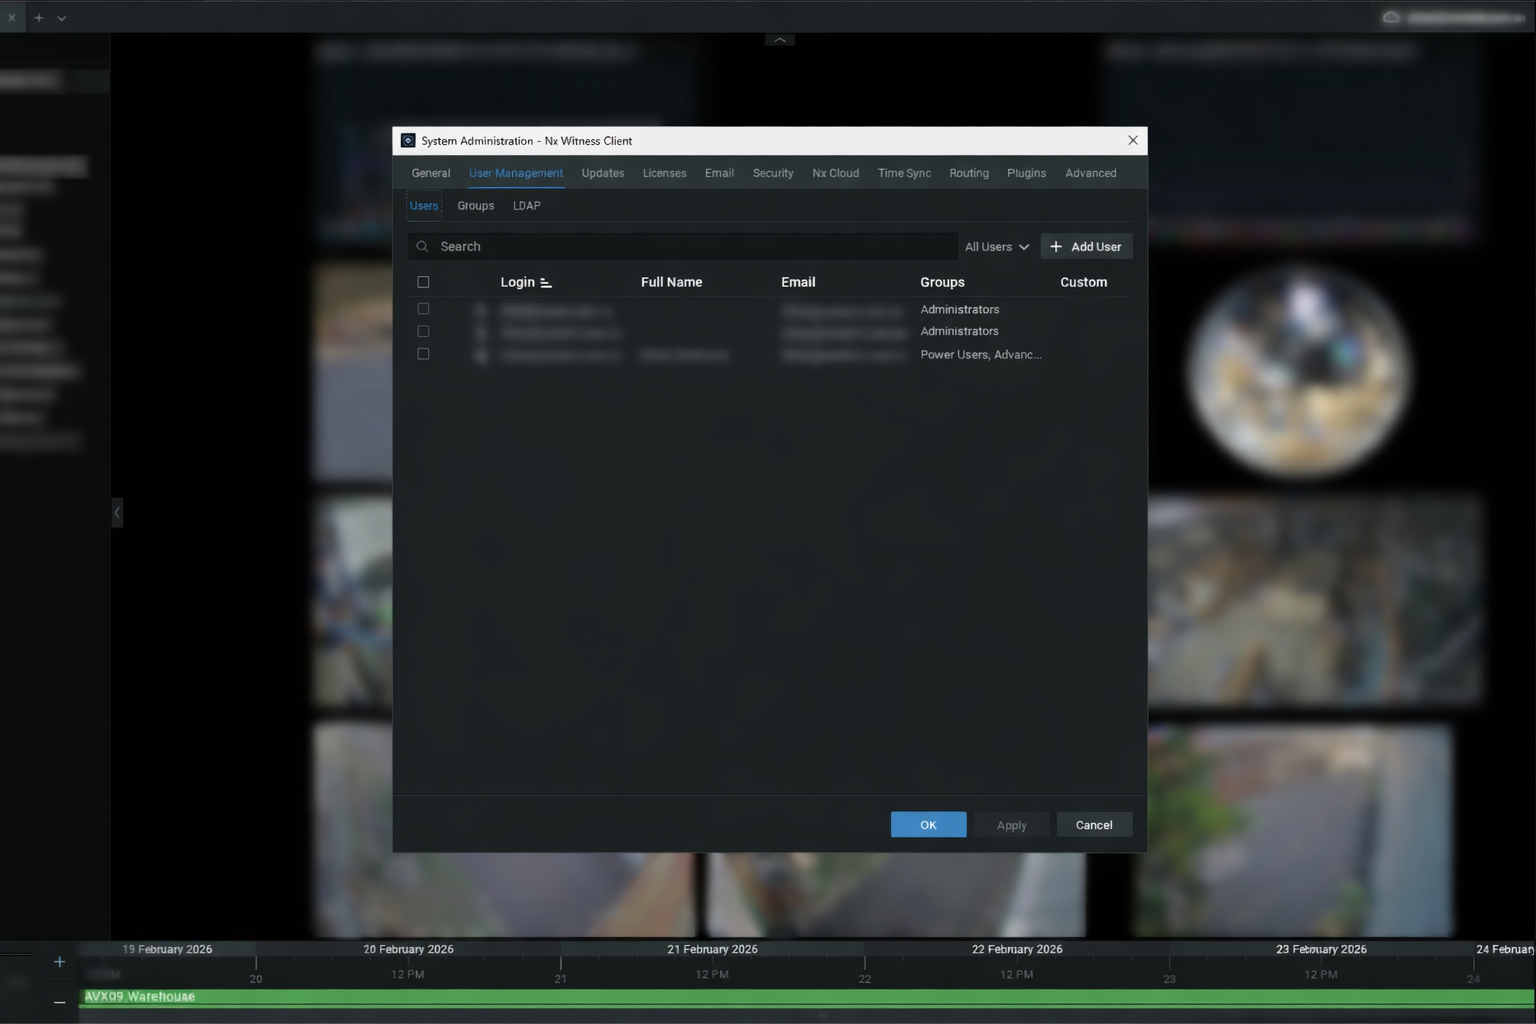
Step 2: Open User Management
-
Click the Main Menu (☰).
-
Select System Administration.
-
Open the Users tab.
Step 3: Determine User Type
Before creating the account, confirm:
-
is this a Manager?
-
Is this a staff member?
Choose the correct account type:
🔹 Local User
Used for:
-
Isolated systems
-
Sites not linked to Nx Cloud
🔹 Cloud User
Used when:
-
The system is connected to Nx Cloud
-
Remote access is required
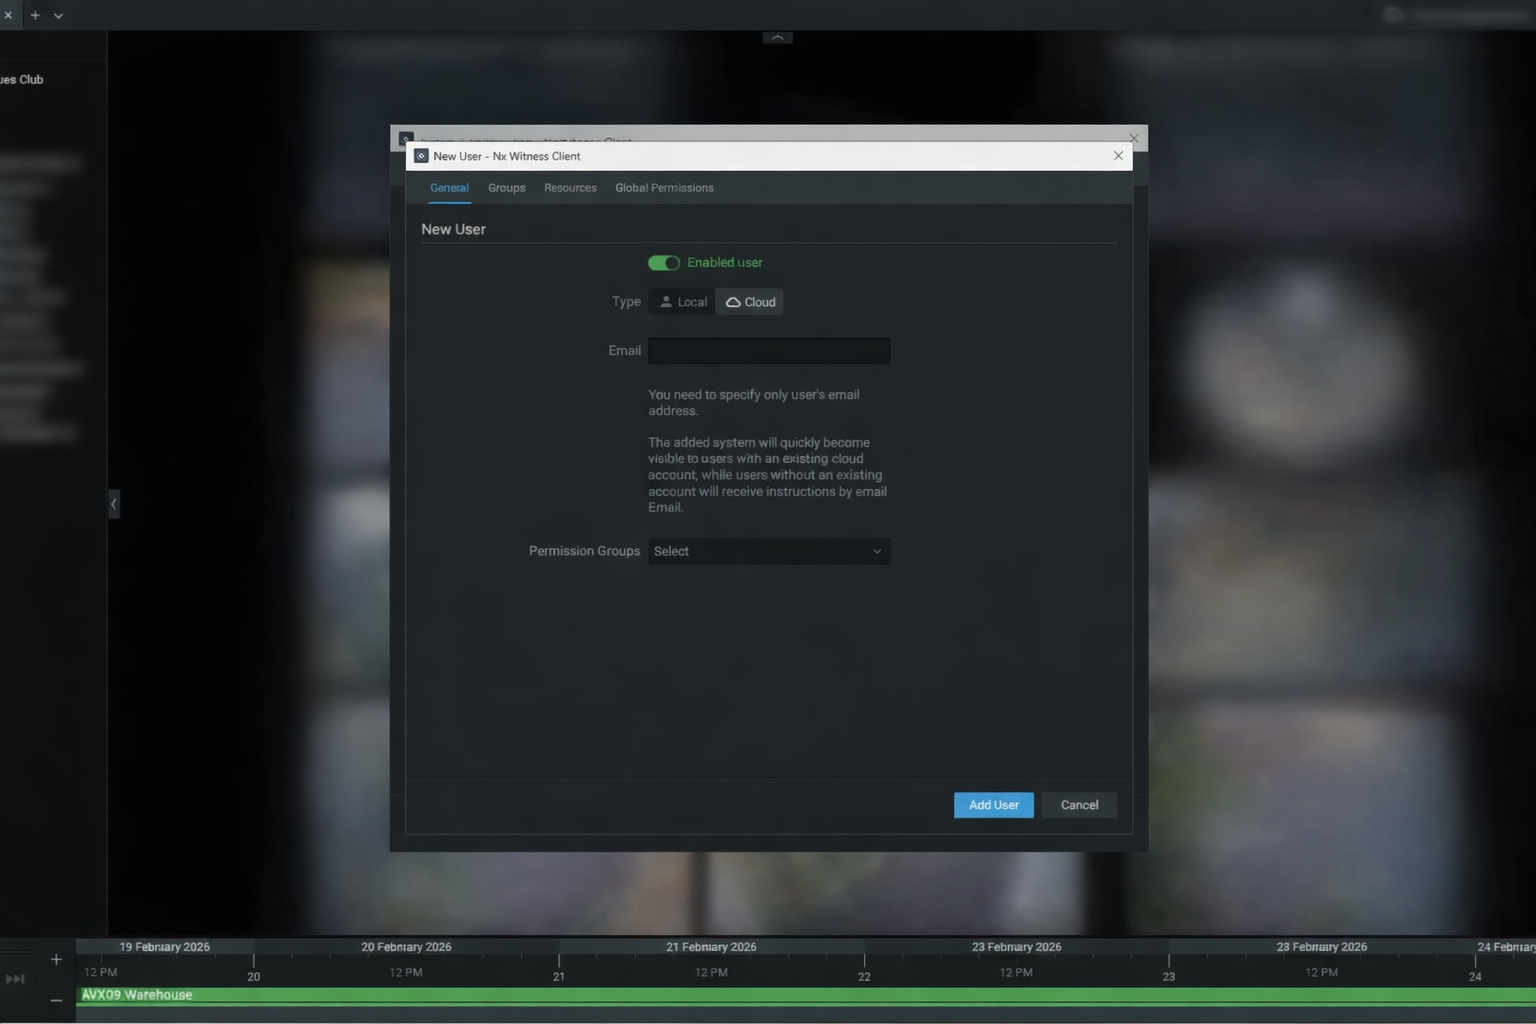
Step 4: Create the User
-
Click + Add User
-
Select Local or Cloud
-
Enter:
-
Full Name (use real name, no nicknames)
-
Username (standard format if applicable)
-
Password (if Local user)
-
Step 5: Assign the Correct Role (DO NOT Default to Admin)
⚙ Advanced User
For:
-
Site managers
-
Supervisors who may export footage
👁 Viewer
For:
-
General staff
-
Basic live/playback access
🚫 Do not assign Administrator unless required.
Step 6: Assign Camera & Resource Permissions
-
Select relevant cameras or camera groups.
-
Enable only required permissions:
-
Live View
-
Playback
-
Export (only if authorised)
-
Step 7: Save & Test
-
Click Apply
-
Log out
-
Log in as the new user to confirm:
-
Access level is correct
-
Camera visibility is correct
-
No excess permissions are granted
-
Offboarding Procedure
When a staff member leaves:
-
Go to System Administration → Users
-
Select the user
-
Click Disable immediately
-
Delete account once confirmed no longer required